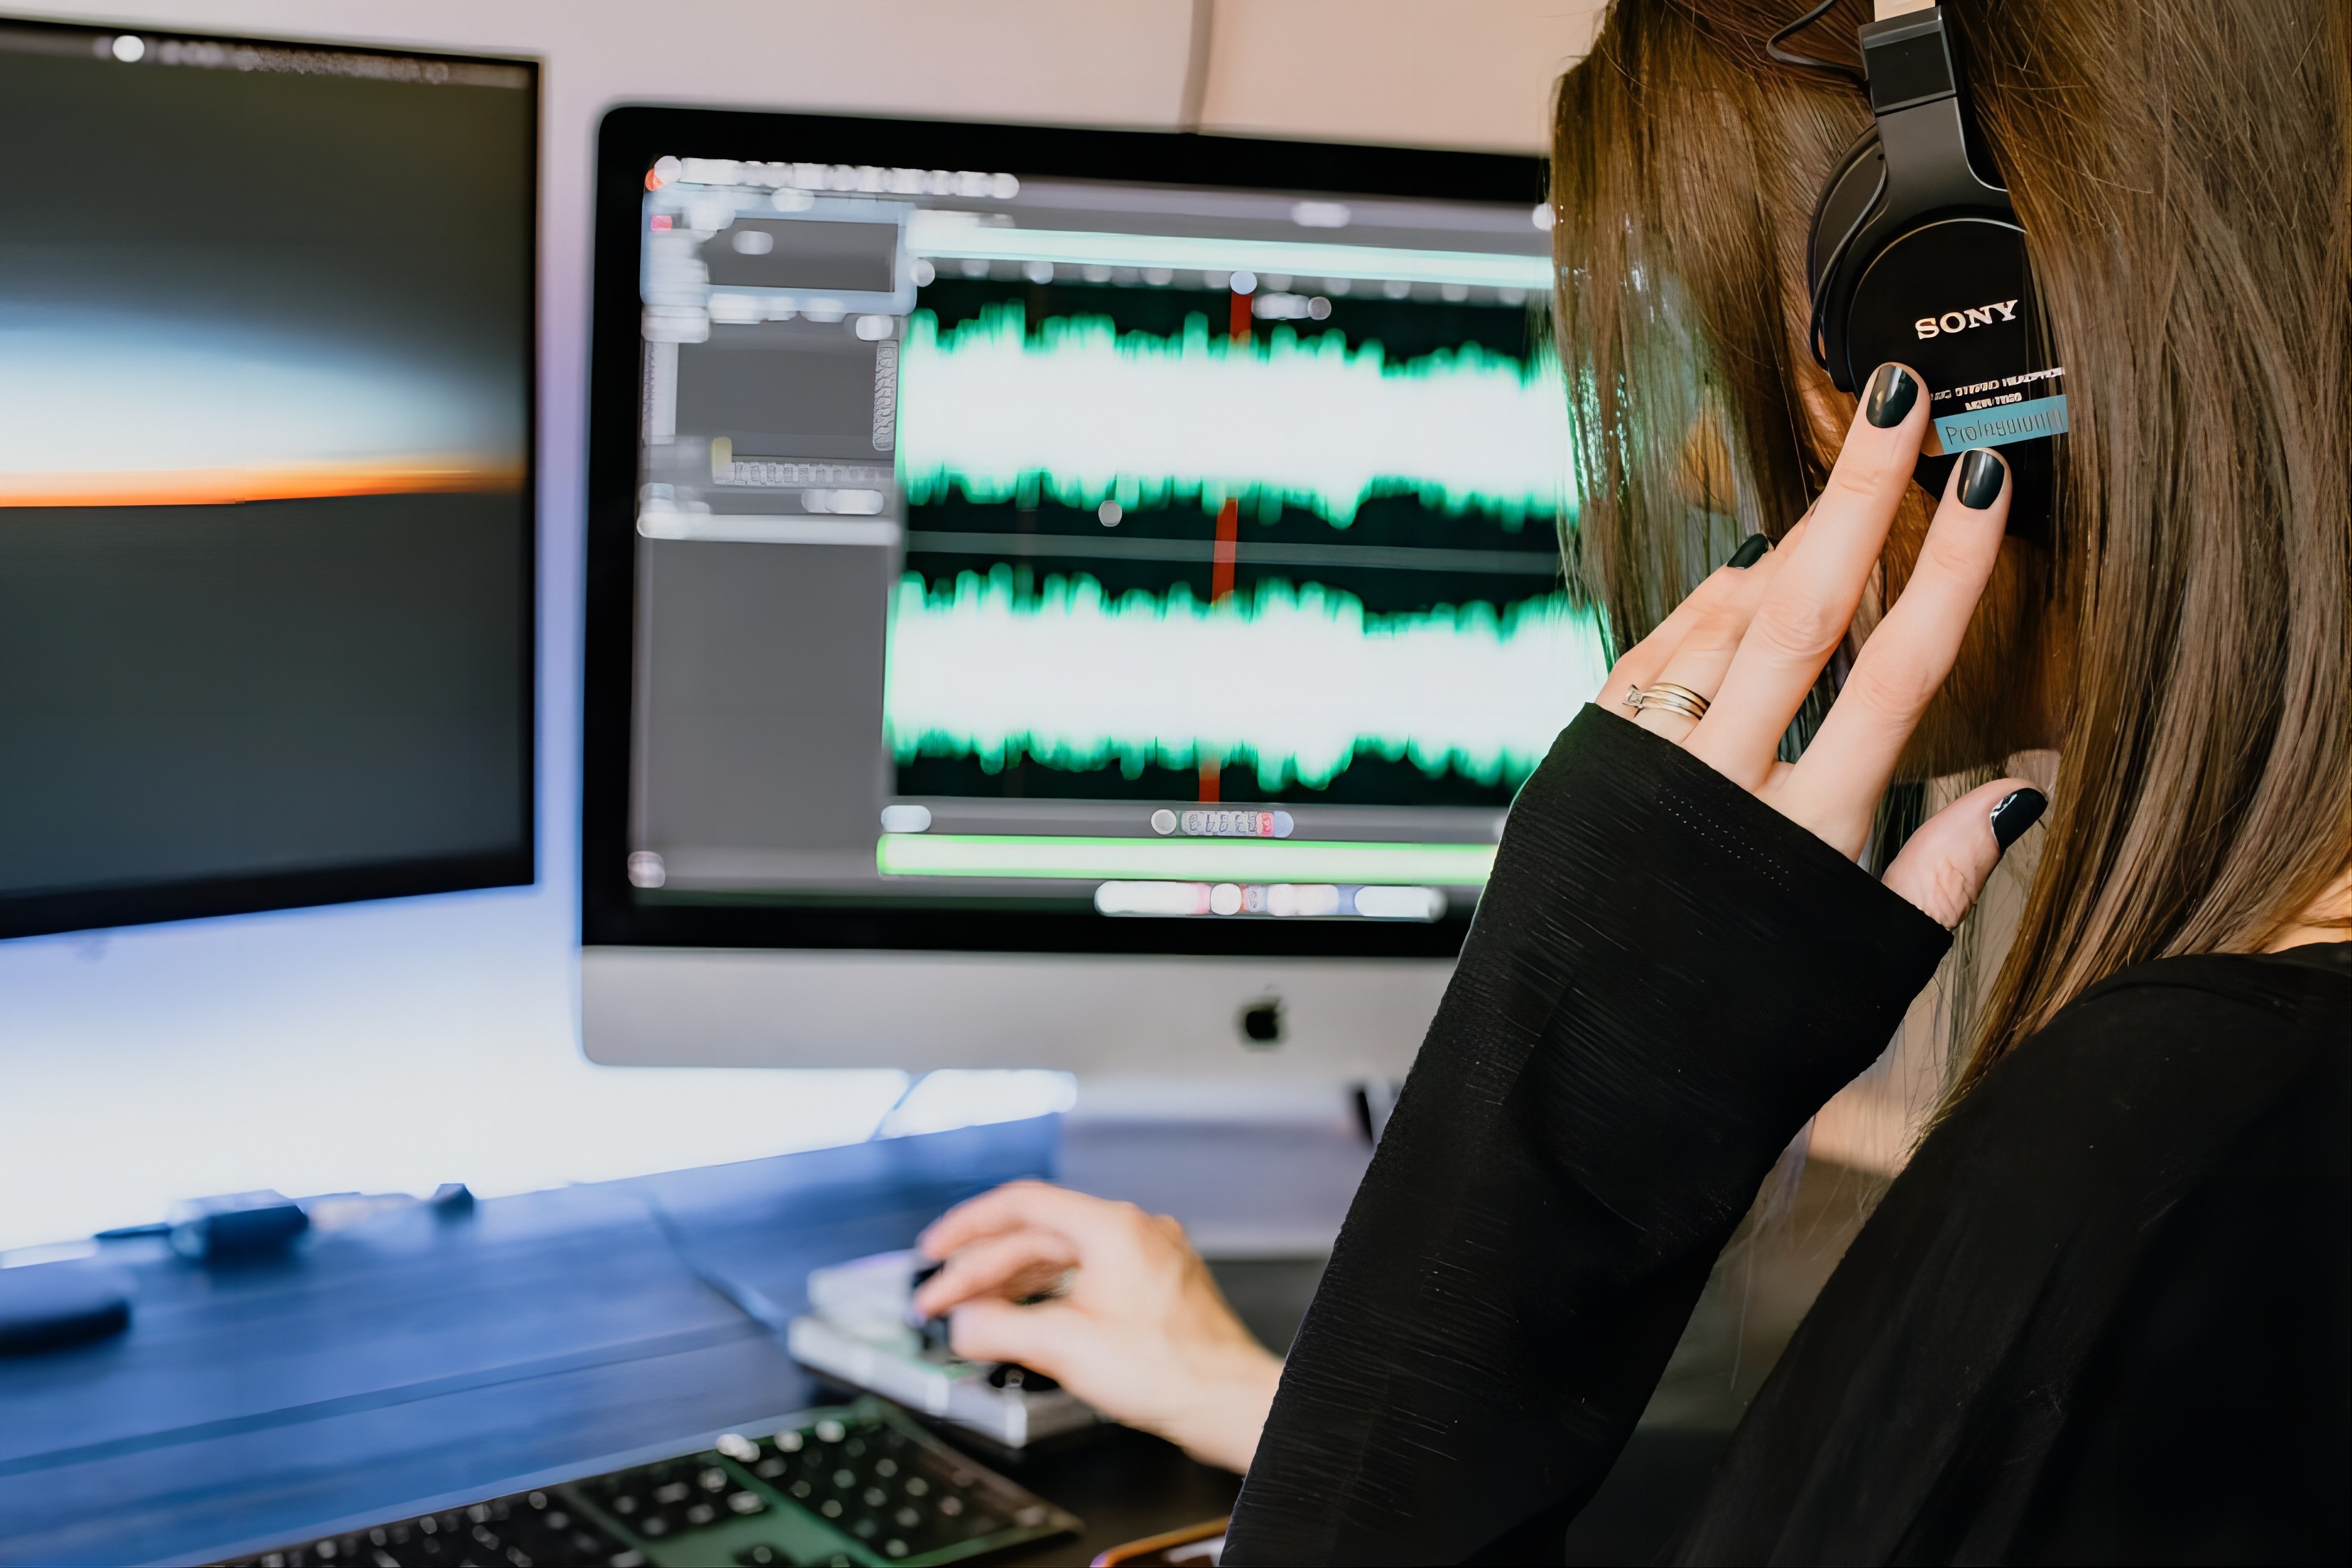
When you want to record Internet broadcasts, phone calls, and radio programs, it is very convenient to use a computer to record audio. You can record audio using your computer’s built-in recording program or third-party recording software.
Use a Tape Recorder
Make sure you have a microphone installed on your computer. Some computer manufacturers offer built-in microphones, while others require you to connect an external microphone device.
- Click the Start menu and select Control Panel.
Click Hardware and Sound and select Manage Audio Devices.
Click the Recording tab and see if the microphone option is listed there. If you do not have a microphone installed on your computer, you must connect an external microphone via USB.
Click the “Start” button and enter “recorder” in the search box.
When the search results appear, click “Audio Recorder.” The application will then open and the program interface will be displayed.
Click “Start Recording” and start speaking or playing the audio you want to record.
When finished, click Stop Recording.
Click “File” and select “Save As”.
Enter a name for the recording file and click Save. Your audio file will be saved.
Use Third-Party Software
Right-click the speaker icon on the desktop.
Select “Recording Device” and click the “Recording” tab.
Right-click an empty space in the recording tab and select “Show Disabled Devices.” The third-party recording software you need to use will then be displayed.
Right-click Stereo Mix and select Enable. By default, most computers disable the stereo mix feature.
Click “Set as default device”. This will allow third-party recording software to use your computer’s stereo settings.
Open the third-party recording software. If you do not have third-party recording software installed, consider downloading “Audacity” from the http://audacityteam.org/ website. It is a free, open-source audio program that works on all versions of Windows.
Click the Settings or Preferences option in the Audacity program or audio program and select Stereo Mix as the default recording device.
Click the “Record” button and play the audio you want to record.
Once you’ve finished recording, click the “Stop” button.
Click “File” and select “Export as MP3” or “Export as WAV”.
Enter a name for the audio file and select Save. The audio file will be saved.
When you encounter problems while recording, try using the Audio Recording Troubleshooter tool in Windows to fix the problem. This tool is often used to fix built-in microphone and speaker settings.
- Click the “Start” menu and select “Control Panel.”
- Type “troubleshooter” in the search box and find “troubleshooter” from the list of search results.
- Select Audio Recording Troubleshooter. The system will then detect and attempt to fix audio problems on your computer.
If you have problems recording audio, try downloading and updating your microphone or speaker drivers from the manufacturer’s website. Downloading the latest version of the software’s driver can often help you solve recording problems. Different models of Windows computers have different built-in hardware components.
If you can’t record video properly, try connecting an external microphone through another USB port. This can help you determine whether there is a problem with the microphone or the USB port that is preventing you from recording audio.


